How to make a scrapbook (and how to actually finish one)
How to make a scrapbook (and how to actually finish one)
A beginner's guide to making a scrapbook: the real steps and supplies, how to mat photos, how long it takes, why so many albums get abandoned, and the finished-keepsake alternative.
Pick one small topic, gather and print your photos, then build each 12x12 page in order: background paper, matted photos, a title, journaling, and embellishments last. Lay everything out without glue before you commit. The hard part isn't the steps, it's finishing, so start narrow and keep the scope small enough that you actually reach the end.
Making a scrapbook is not complicated. You cut paper, arrange photos, write a few words, and slide the page into a protector. The steps are easy to learn in an afternoon.
Finishing a scrapbook is the hard part, and almost no beginner guide is honest about that. So this one covers the full process, matting and dry-fitting and journaling included, and then the thing the other guides skip: how long it really takes, why so many albums end up half-done in a closet, and what to do if that's you.
The supplies you actually need
Scrapbooking has a way of turning into a shopping trip that costs more than the memories are worth. You don't need most of it to start. Every beginner guide worth reading says the same thing: buy little, make a page, then decide what you're missing.
The real starter list is short:
- A 12x12 album (post-bound is the standard) with page protectors
- Cardstock in white and a few colors, plus a little patterned paper
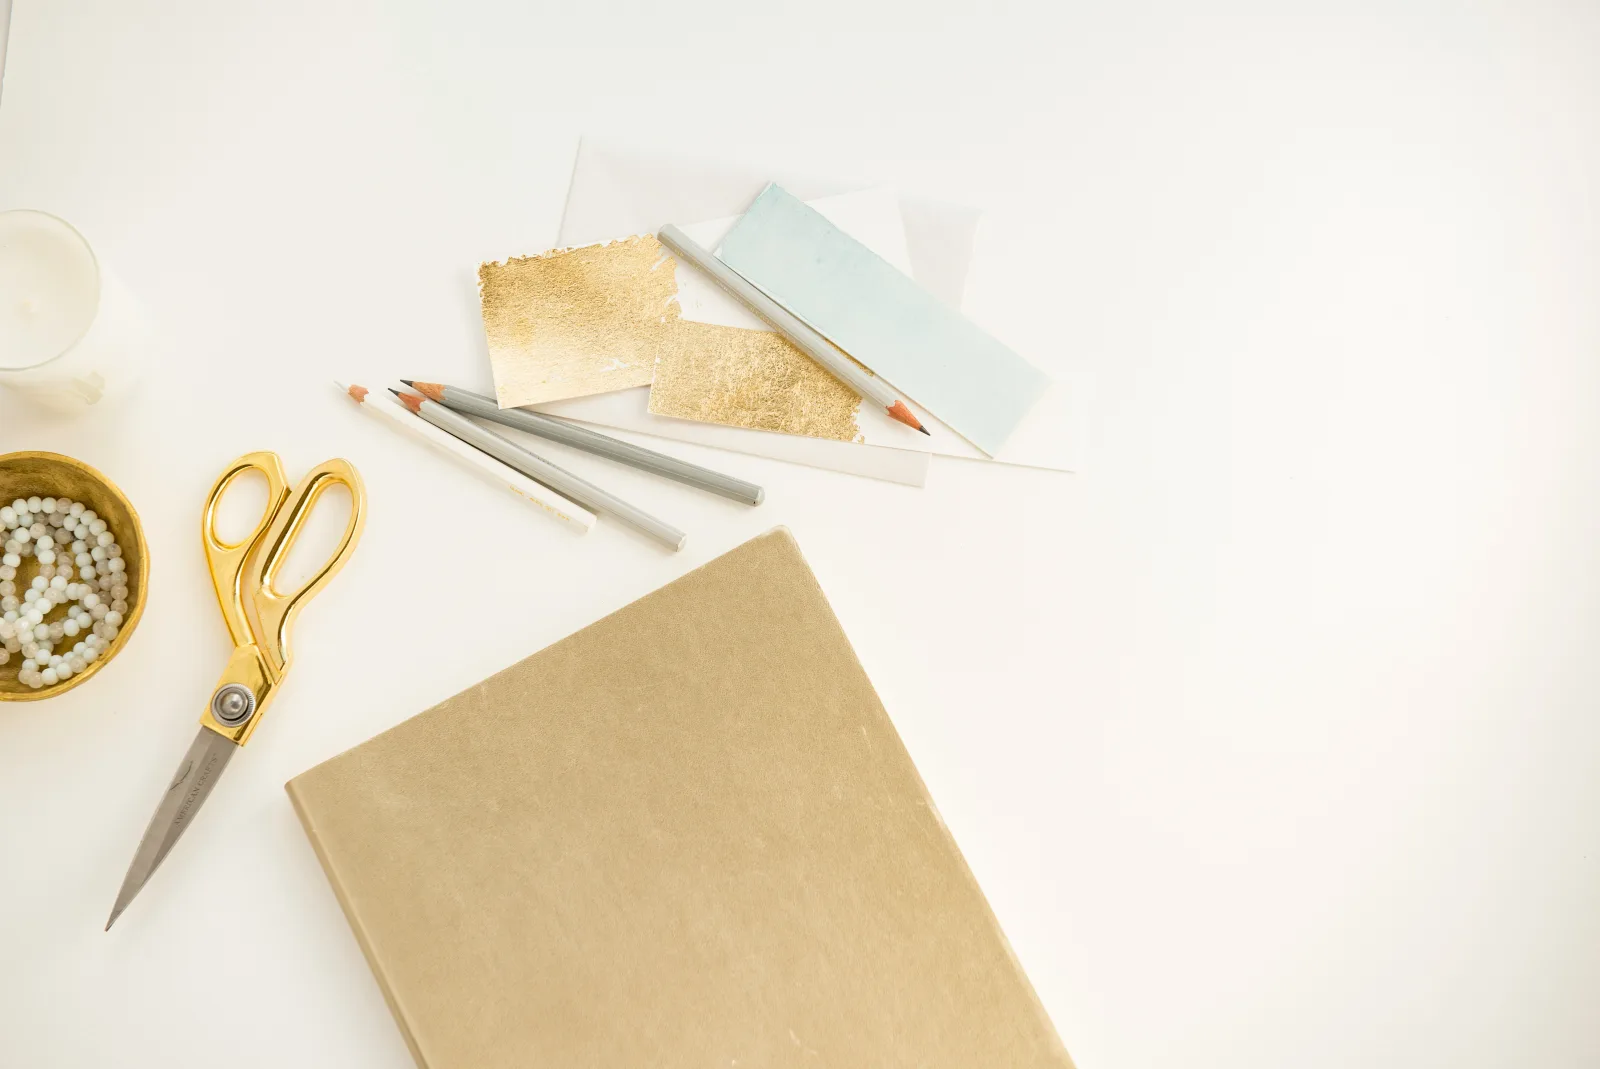
- A paper trimmer and a pair of scissors
- Adhesive: a tape runner for flat sticking, foam squares for a bit of lift
- A black pen for journaling
- Your printed photos
That's genuinely it. The Scrapbooking Coach beginner guide puts it plainly: a starter kit should consist of a few essential tools such as scissors, a paper trimmer, and cardstock. Everything past that is preference, not requirement. The same guide's first real instruction is to organize your photos before you buy anything else, which is the step most beginners skip and later regret.
The trimmer is the one tool worth not cheaping out on. It gives you the straight, square cuts that make the difference between a page that looks intentional and one that looks like scraps. Scissors handle curves and detail work, but a trimmer does ninety percent of the cutting on most pages.
On cost, keep your expectations grounded. Hip Kit Club's guide prices a decent starter kit at around $44.95, and its blunt advice is not to buy a mountain of supplies before you know whether you'll stick with it. That $44.95 is a store kit number, not a rule, but it's a fair anchor. The most common beginner mistake by far is spending several times that on embellishments you'll never open.
Stickers, washi tape, punches, die-cuts, and decorative brads are the fun part of the store and the trap. LoveCrafts' beginner guide treats all of it as optional extras you add later, once you know your own style, not things you need on day one. Make three pages first. You'll learn more about what you actually reach for than any shopping list can tell you.
The steps, in the order that works
The sequence matters, because gluing things down in the wrong order is how pages end up crooked and crowded. LoveCrafts lays it out as a seven-step beginner sequence, and every good guide lands on roughly the same order.
Start by picking one small topic. Not "my child's whole life," which never gets finished, but something with edges: one summer, one school year, the drawings from age five. Then gather and print the photos or artwork for that topic before you touch any paper. Organizing first, as both Scrapbooking Coach and LoveCrafts stress, saves you far more time than it costs.
Now build the page, and here's the move that separates good pages from messy ones: lay everything out without any glue first. Scrapbookers call it a dry fit. Arrange the background, the photos, the title block, and shuffle it around until it looks balanced, then step back and look at it as a whole before you commit a single thing.
Only once the dry fit looks right do you start sticking. The assembly order goes: trim your background cardstock to size, mat the photos, adhere the patterned paper and then the matted photos, add a title and a few sentences of journaling, and save embellishments for last. Slide the finished page into its protector and you're done with page one.
How to mat a photo (the step that makes it look finished)
Matting is the single technique that turns loose photos on paper into something that reads as a designed page, and it takes about thirty seconds once you've done it once. All it means is mounting your photo on a slightly larger piece of cardstock so a thin, even border frames it.
Here's the method. Trim your photo square and clean on the trimmer. Run a tape runner around the back and press it onto a piece of coordinating cardstock. Then trim the cardstock down so it leaves a consistent border, about a quarter of an inch, on all four sides.
That thin frame does a surprising amount of work. It lifts the photo off a busy background and pulls a color from the picture out onto the page, and it gives the eye a clean edge to rest on. Double-matting, two layers of cardstock in two colors, is the same trick with a little more presence for the one photo you want to lead the page.
The same move works beautifully for a child's drawing. A crayon picture matted on colored cardstock stops looking like a page torn from a pad and starts looking like art someone chose to keep. Use the foam squares here instead of flat tape if you want the drawing to lift slightly off the page and cast a small shadow.
A walkthrough of your first page
It helps to see one page from blank cardstock to finished, because the abstract steps click once they're attached to a real layout. Say your topic is a single afternoon at the beach and you've printed four photos plus your child's crayon drawing of the ocean.
Start with a 12x12 sheet of cardstock in a soft sandy color as the background. Dry-fit the pieces: the drawing anchored in one corner, the four photos grouped so they don't float, a little open space left deliberately empty so the page can breathe. Nudge things around until nothing feels crammed against an edge, then take a phone photo of the arrangement so you can rebuild it after you pick everything up to glue.
Now assemble in order. Mat the drawing and the two best photos on a coordinating blue, leave the smaller two unmatted so the page has some contrast, and adhere them in the arrangement you photographed. Add a title in the empty space, "The day she met the ocean," and two sentences of journaling underneath in your black pen.
Embellishments last, and less than you think: a couple of small shell stickers, or nothing at all. Slide it into the page protector. That single page, dry-fit to finished, is a realistic hour of work, and it's the exact loop you'll repeat for every page after it.
Themes that make a scrapbook easier to finish
The album that gets finished almost always has a theme narrow enough to end. A theme is just a boundary, and a boundary is what tells you when you're done. "Everything" has no finish line, which is precisely why "everything" albums die in drawers.
Good beginner themes share that quality of having edges. A single trip. One school year. Baby's first twelve months. A grandparent's visit. One child's drawings from a single age, which is a lovely one because kids draw so differently at four than they do at six.
The temptation is always to widen the theme once you're a few pages in, and that's usually the beginning of the end. A "one summer" book that quietly becomes a "childhood" book has just traded a project you could finish for one you can't. If you find yourself wanting to add more, start a second small book instead of stretching the first.
Journaling is the part you'll be glad you kept
It's tempting to skip the writing and let the photos speak. Don't. The dates, names, and small anecdotes are what make a scrapbook worth opening in ten years, and they're the first details anyone forgets.
You don't need much. A sentence about what was happening, who's in the picture, something someone said. The photo shows what it looked like. The journaling is the only part that saves what it felt like.
This is also where a scrapbook does something measurable for you. Looking back on saved memories genuinely lifts your mood, and the research is unusually consistent about it. A 2013 review of the science of nostalgia found that revisiting personal memories generates positive affect, increases self-esteem, fosters social connectedness, and even alleviates existential threat.
A more recent study puts a number on part of that. A 2023 paper in the Journal of Happiness Studies found that nostalgia increased positive feelings largely by way of gratitude, and that gratitude pathway accounted for about 40% of the effect. The pages do more than record what happened. Building them, and turning back to them later, is quietly good for you.
The honest time, cost, and why albums stall
Here's the version of the time commitment the pretty guides leave out: a single detailed layout can take an hour or more, and a full album is a project measured in weeks or months. Experienced scrapbookers pace themselves at about one page a week, as Hip Kit Club recommends, and even at that gentle pace many describe the pressure to keep up as the thing that eventually loses to real life.
Cost creeps the same way time does. That $44.95 starter kit is real, but so is the second trip to the craft store, and the third. The supplies aren't expensive individually. They're expensive in aggregate, spread across an album that may never get filled.
That matters more than it sounds, because of a quirk in how we value things we make. In a well-known experiment, people were willing to pay 63% more for furniture they'd assembled themselves than for the identical pre-built version, an effect the researchers named the "IKEA effect." But there was a catch buried in the study. The extra attachment only appeared when people actually finished, and builds left incomplete produced no bonus attachment at all.
A scrapbook works the same way. A finished album you made by hand is treasured precisely because of the effort in it. A half-finished one in a closet gives you the effort and the guilt with none of the payoff. The labor only turns into love if you reach the last page.
Digital or physical, and how to choose
There are really two ways to make a book of memories now, and they suit different people. Physical scrapbooking is hands-on, tactile, and slow, and for the people who love it, the slowness is the whole point. Digital photo books are laid out on a screen and printed by a service, and they trade the tactile craft for finishing in an evening.
Neither is the "right" one. The honest question is which one matches your real life, not which one looks best on a hobby blog. If cutting paper on a quiet afternoon is something you'll genuinely make time for, the physical version rewards that. If you know the paper and trimmer will sit in a cupboard, a digital book that actually gets ordered beats a physical one that never gets built.
A useful middle test: have you finished a hands-on craft project in the last year? If yes, trust yourself with the physical version. If your honest answer is a closet full of good intentions, plan around that instead of against it.
If you're honest that you won't finish
Some people love the process, and for them the hours are the point, not the obstacle. If that's you, ignore this section and go enjoy it. The paper and the trimmer and the slow afternoon are worth every minute.
But if you've started albums before and watched them stall, it's worth being honest before you spend another forty dollars. A finished keepsake beats an abandoned one every time. A photo book assembles digitally in about an hour with no cutting or gluing. And if what you're really trying to preserve is your kid's art, DoodleTale turns a single drawing into a printed storybook where their art becomes the illustration and they become the character in the story, with no assembly at all.
It arrives finished, which means it clears the one bar the IKEA effect says actually matters. The effort is already spent on your behalf, so what you're left with is the keepsake and none of the guilt of a half-done project.
None of this makes scrapbooking wrong. The point is just to match the method to your real life, so that whatever you're preserving actually ends up preserved instead of half-done in a drawer. There are other ways to keep your kids' drawings too, and the best one is whichever you'll actually finish.
Frequently asked questions
Pick one small topic, not your whole life, a single trip, a school year, one child's drawings from age five. Gather and print the photos or art first, choose a 12x12 album with page protectors, then lay out each page without glue before you stick anything down. Starting narrow is the single biggest predictor of actually finishing.
The basics are a 12x12 post-bound album with page protectors, cardstock, a paper trimmer, scissors, a tape runner plus foam squares for adhesive, a black journaling pen, and your printed photos. Embellishments like stickers and washi tape are optional extras. Beginner guides consistently warn against buying a mountain of supplies before you've made a single page.
Matting means gluing your photo onto a slightly larger piece of cardstock so a thin border frames it, usually about a quarter inch on every side. Trim the photo clean, stick it to the mat with a tape runner, then trim the mat down to leave an even edge. It's the one small step that makes a page look finished instead of like loose photos on paper.
More honestly than most guides admit: a single detailed layout can take an hour or more, and a full album is a project measured in weeks or months, not an afternoon. Experienced scrapbookers pace themselves at roughly one page a week. The time cost is the main reason so many albums stall halfway.
If the supplies-and-hours model isn't realistic for your season of life, a finished keepsake beats an abandoned one every time. Photo books assemble digitally in an hour, and a child's drawing can be turned into a printed storybook without any assembly at all. The goal is a keepsake that exists, not a craft you feel guilty about.
For the drawings you'd never cut up to fit a scrapbook page, turning one into a printed storybook keeps it whole, and finished.
The best scrapbook is the one that gets finished. Everything else is just nice supplies in a closet.
Try it yourself
Turn your child's drawing into a real storybook
Free preview. No account needed. Ships to US & Canada.
Start for free