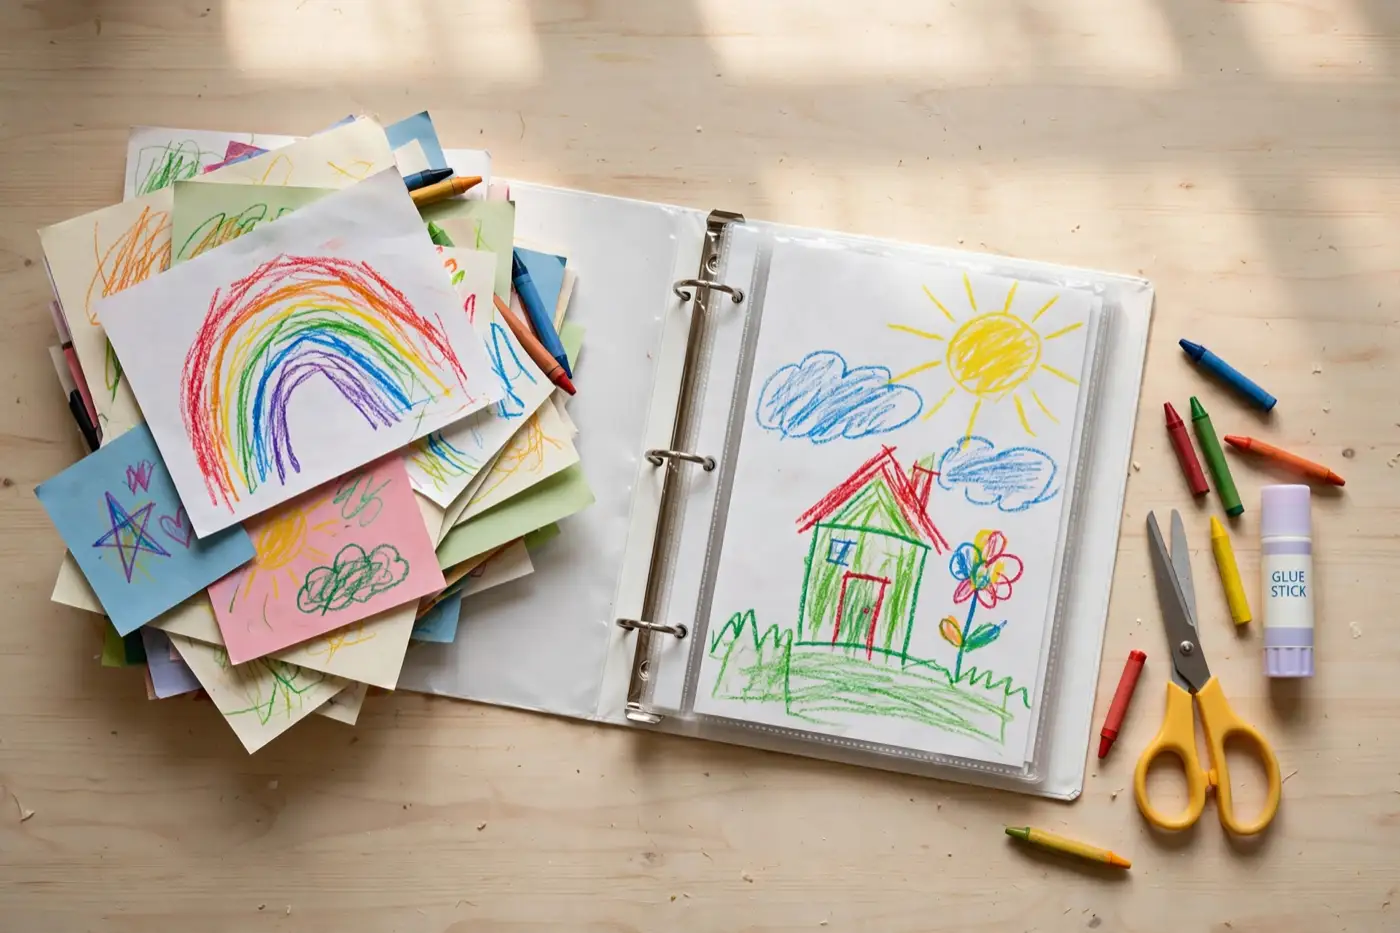
How to make a DIY kids art book (the parts the craft blogs skip)
How to make a DIY kids art book (the parts the craft blogs skip)
A build guide for making a kids art book by hand: choosing a page size, four binding methods compared, what to do with art that will not lie flat, and honest time and cost.
Pick one theme and 15 to 25 pieces, decide the page size before buying anything, then make every piece conform to it by trimming, mounting, or photographing and reprinting the oversized work. Label each page with the date, the child's age, and what they said it was. Bind it with a three ring binder and sleeves (easiest, about $20), screw posts (looks better, still expandable), a saddle stapler (flat booklet under 30 sheets), or hand it to a local print shop for coil binding at roughly $5 to $10. Budget four to six hours across two sittings.
Most guides to making a kids art book stop at "put the drawings in an album", which is the one part nobody needed help with. The parts that actually stall the project are the boring ones: the art is the wrong size, there is too much of it, half of it has macaroni glued to it, and no one wrote down when any of it was made.
This is a build guide for the physical version. If you would rather compare making a book yourself against mailing the pile to a service, the three routes to a book from kids' artwork covers that decision instead.
Decide what the book is for before you buy anything
Every abandoned art book failed at this step rather than at the binding.
There are only three honest purposes. A year book holds one school year, which makes the selection rule automatic and the endpoint obvious. A theme book holds one recurring subject, all the dragons, every drawing of the dog, the entire dinosaur period, and it is by far the most fun to read later. A gift book is curated for one recipient and is usually the shortest, because a grandparent wants fifteen good pages and not ninety.
Then set the number: 15 to 25 pieces. That is a book. Forty plus is a filing system, and the effect of including everything is that the great pieces get buried under the ones kept out of guilt. If the pile does not fit that number, that is an argument for two books, not for one enormous one.
Curating with the child in the room changes the result, and usually for the better. Four year olds are ruthless about their own work in a way parents cannot be, and they pick based on what they remember making, which is exactly the right criterion.
The size problem, which is the real problem
Kids' art arrives on 12x18 easel paper, 9x12 construction paper, half a paper plate, and a napkin. A book needs one page size. Reconciling those two facts is most of the work.
Choose the page size first, before buying a single supply, because everything downstream depends on it. A 12x12 album takes most easel paper with a trim. A letter sized or 9x12 binder is cheaper and easier to find but means reducing a lot of the work. Whichever you pick, then handle each piece with one of three moves:
Trim it. Only for pieces with genuinely empty margin. Cut with a paper trimmer rather than scissors, and never crop into the drawing to make it fit, because a cropped drawing looks like a mistake forever.
Mount it. Glue the piece onto a cardstock page of your chosen size with a tape runner, leaving an even border. This is how you make five different paper sizes look deliberate instead of chaotic, and it is the single step that most separates a finished-looking book from a folder of loose paper.
Photograph it and print it down. The answer for anything oversized, three dimensional, or too fragile to handle. Photograph flat in daylight with the camera directly overhead, then print at the page size. The original goes in a flat box; the book gets a clean version that fits.
Do not fold large pieces to make them fit. The fold becomes a crack within a couple of years and it always lands across the middle of the drawing.
Four binding methods, and which one to pick
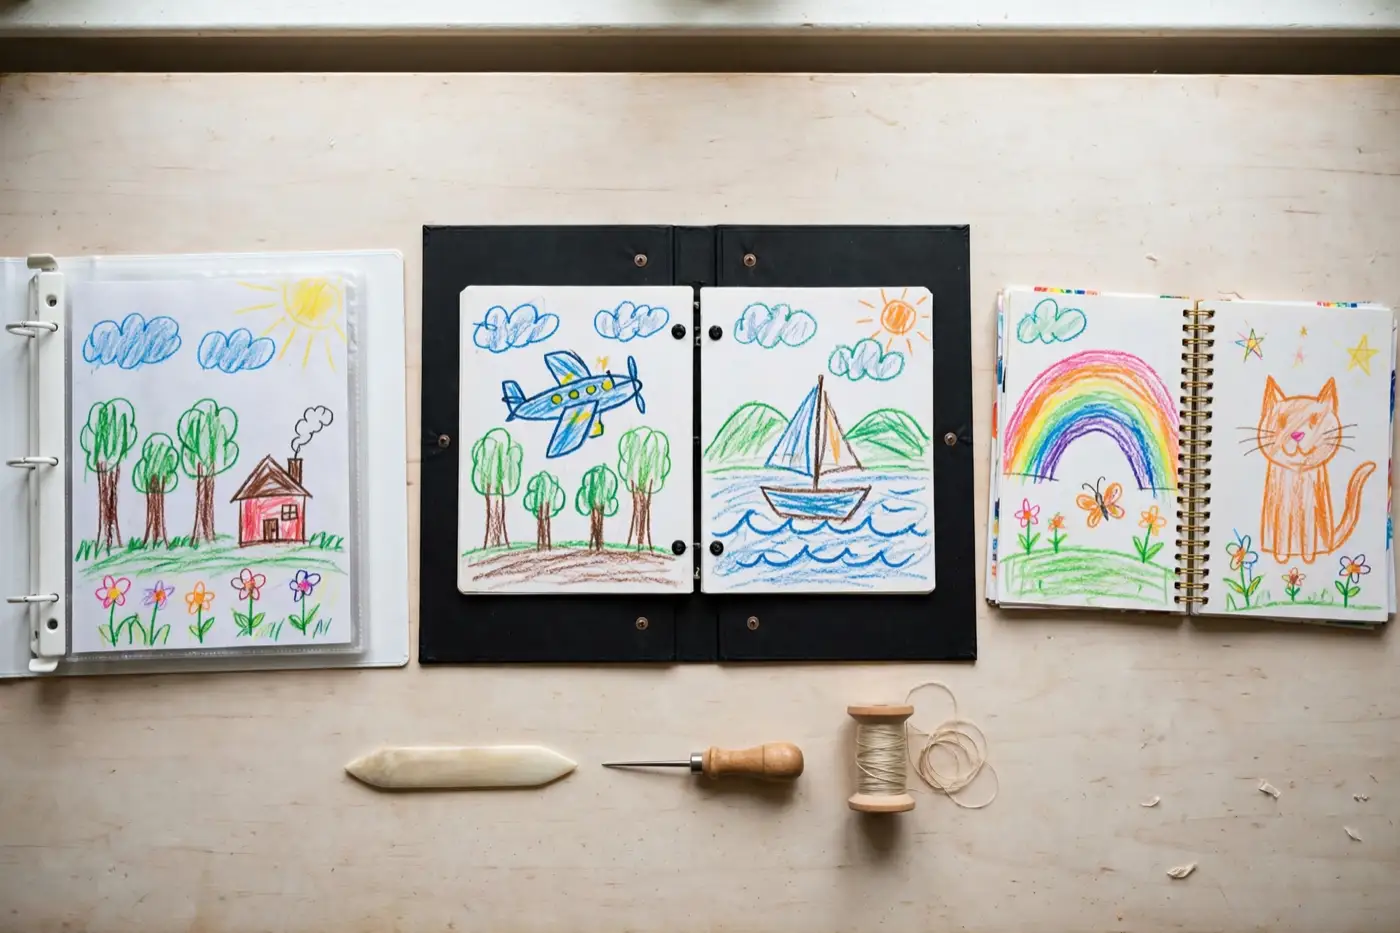
| Method | What it costs | Add pages later? | Best for |
|---|---|---|---|
| Three ring binder + sleeves | $15 to $30 | Yes, forever | Year books and anything still growing |
| Screw posts (Chicago screws) | $25 to $50 | Yes, with a hole punch | A finished look that still expands |
| Saddle stitch (long reach stapler) | About $25 for the stapler | No | Flat booklets under about 30 sheets |
| Print shop coil or wire binding | $5 to $10 per book | No | The best looking result for the least effort |
The three ring binder with polypropylene page sleeves is the default for a reason. No tools, no permanence, and the sleeves rather than the binder are what protect the work. Buy sleeves that specify polypropylene or polyester, not vinyl.
Screw posts are the upgrade that most people do not know exists. They look like a proper album, lie flat when open, and unscrew so pages can be added, which a bound book cannot do.
A long reach saddle stapler turns a stack into a folded booklet and is the fastest route to something that reads like a book, but it gives up at roughly 30 sheets and the page count is fixed at the moment you staple.
The print shop is the option craft guides skip, and it is often the correct one. Take the finished pages to a local copy shop and coil or wire bind them for a few dollars. It takes ten minutes, costs less than the supplies for any of the other methods, and produces the most book-like object of the four. Ask for a clear acetate cover and a black board back while you are there, because that is what stops the first and last pages curling.
If you want a real sewn spine, Lineco has been making bookbinding and conservation supplies for about fifty years and sells a beginner binding kit with the awl, needle, thread, and bone folder in one box. Sewing a signature is a genuinely pleasant hour, but be honest that it fixes the page count forever.
What to do with the art that will not lie flat
The glitter, the glued pasta, the pipe cleaner antennae, the paint applied thickly enough to have its own weather.
Photograph it on a plain background, print the photo at page size, and put that in the book. Then write on the caption where the original lives. "The real one is in the box under the bed" is a legitimate and useful line in an art book, and it saves the future reader wondering why the sculpture is missing.
Two failure modes worth avoiding. Never slide thickly painted or chalk pastel work into a plastic sleeve, because it sticks to the plastic and lifts off the paper when you pull it out. And never laminate anything you want to keep, since lamination is permanent, traps acid against the paper, and cannot be undone by any conservator.
Labeling is the ten seconds that carries the whole book
On every page, write three things: the date, the child's age, and what they said it was.
The third one is the part people skip and the part that matters most. "This is a horse that is also a boat" in a five year old's own explanation is worth more in ten years than any caption an adult could write. Record it in their spelling if they wrote it themselves.
Without the date and age, a book of drawings becomes a pile of undated drawings the moment memory fades, which is around eighteen months. With them, it becomes a record of how a specific person's hand changed year over year. If you are curious what those changes actually signal, the stages of children's drawing development covers what shows up at what age.
Archival materials, and when they actually matter
The short version: use acid-free and lignin-free cardstock and polypropylene or polyester sleeves, avoid PVC and vinyl, and keep the finished book out of direct sunlight, attics, and basements. Specialist suppliers like Gaylord Archival stock the museum grade version of all of it.
The honest version: most children's artwork is made on construction paper, which is acidic, high lignin, and fades noticeably within a few years no matter what you store it in. Archival sleeves slow the deterioration of the surrounding pages. They do not rescue the construction paper itself.
Which leads to the practical conclusion that this guide keeps circling back to. Photograph everything before you build anything. The photograph is the copy that survives, and once it exists you are free to trim, mount, gift, or lose the original without losing the drawing. Preserving kids' artwork covers the photographing and storage side properly.
The honest time and cost
| Route | Supplies | Time |
|---|---|---|
| Binder and sleeves, originals mounted | $20 to $35 | 3 to 5 hours |
| Screw post album, originals mounted | $30 to $60 | 4 to 6 hours |
| Print shop coil binding, originals mounted | $25 to $40 | 3 to 4 hours plus a shop trip |
| Photograph everything, print, and bind | $30 to $70 | 5 to 8 hours, most of it layout |
Do it across two sittings rather than one. Sort and select in the first, build in the second. The single afternoon plan is what produces the half finished album in the closet, because sorting is the tiring part and nobody wants to start assembly after two hours of deciding.
Two supplies are worth spending on and the rest are not: a paper trimmer, which makes every cut straight and takes the trimming step from tedious to quick, and a tape runner rather than a glue stick, because glue sticks buckle paper as they dry.
If you want the full craft-project version with layout, matting, and journaling, how to make a scrapbook goes deeper on technique than this page does, including the honest reasons albums stall.
Where DIY stops being the right call
Several hundred pieces spanning years is not a DIY afternoon, it is a scanning project, and at that volume the mail-in services that photograph everything for you and send the originals back start making sense. The three routes to a book from kids' artwork compares those against doing it yourself, with what each one costs. A hard deadline is the other reason to stop: a book due for a birthday next Friday does not survive a project that stalls at the sorting stage.
The third reason is the honest limit of the whole category. A DIY art book is a portfolio. It preserves the work, it is lovely to look through with an adult, and it has no plot, so a child looks at it once and then goes back to whatever they were doing.
That is a different job from a book with a story in it. DoodleTale is built for that second job, taking one drawing and turning it into a 30 page illustrated story where the drawn thing is the character, printed as an 8×8 inch softcover for $29.99, or $9.99 as a digital edition. It preserves one drawing rather than a hundred, which is precisely the trade: the archive keeps everything and gets looked at rarely, the story keeps one thing and gets read at bedtime.
Most families end up wanting both, at different moments. The binder holds the year. The story holds the one drawing that was clearly better than the others, and everybody in the house knows which one that is.
Frequently asked questions
Pick one theme and about 15 to 25 pieces, choose a single page size and make everything conform to it by trimming, mounting, or photographing and reprinting oversized work, label every page with the date and the child's age, then bind it. A three ring binder with polypropylene sleeves is the easiest binding; a local print shop will coil bind a stack of pages for roughly $5 to $10 if you want something that looks like a book.
Four methods cover almost every case. A three ring binder with page sleeves needs no tools and takes new pages forever. Screw posts, sometimes called Chicago screws, look better and still allow additions. A long reach saddle stapler makes a flat booklet under about 30 sheets. A bookbinding kit or Japanese stab binding produces the nicest spine but fixes the page count permanently.
Between 15 and 25 for a book anybody will actually open. Past about 40 pages the object stops being a book and becomes a filing system, and the good pieces get buried by the ones that were kept out of guilt. If the pile is much larger, make one book per theme or per school year rather than one enormous album.
Choose the page size before you buy anything, because everything else follows from it. A 12x12 album handles most easel and construction paper with trimming. A 9x12 or letter sized binder is cheaper and more common but requires reducing a lot of work. Oversized pieces get photographed and printed down to fit rather than folded.
Photograph everything first, then decide. A phone photo taken flat in daylight takes seconds and gives you a copy that survives the original being spilled on, torn, or trimmed to fit a page. Construction paper fades and goes brittle no matter how carefully it is stored, so for a lot of children's artwork the photograph is the version that actually lasts.
Pick one drawing off the stack tonight and write the date on the back. That is the whole project, started.
Try it yourself
Turn your child's drawing into a real storybook
Free preview. No account needed. Ships to US & Canada.
Start for free